

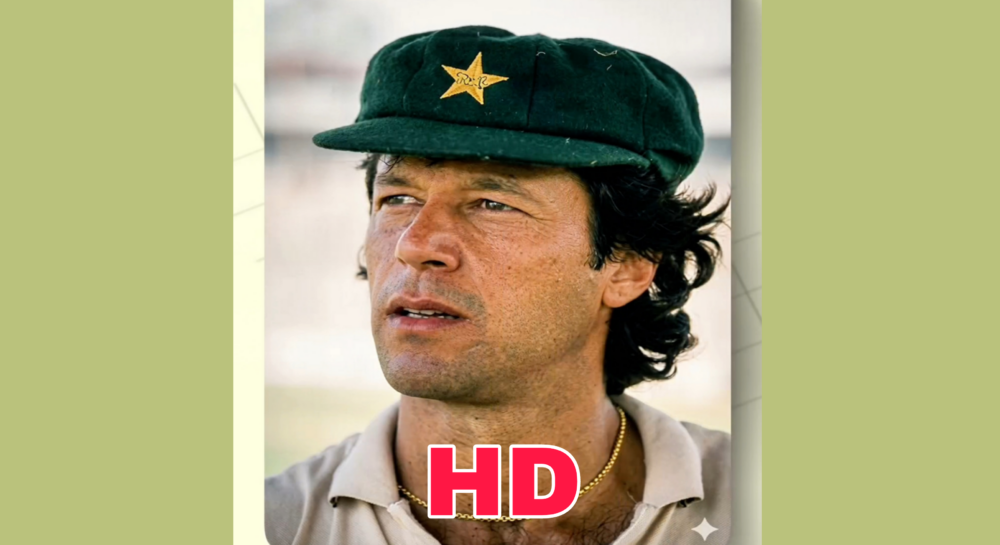
Best AI Photo Enhancer Apps to Turn Blurry Photos Into HD
Every phone has that one folder of old photos that deserved better — a group picture from a wedding that came out slightly blurry, an old family photo scanned years ago that’s lost its sharpness, or a screenshot you had to zoom in on and now it looks like pixelated soup. A few years back, fixing any of this genuinely needed Photoshop skills and patience most people don’t have. Now it’s mostly a one-tap job, thanks to AI photo enhancer apps that have gotten surprisingly good at guessing what detail should be there and filling it back in.
This guide walks through what these apps actually do, which ones are worth installing, and how to get results that don’t look artificially over-processed.
What an AI Photo Enhancer Actually Does
At a basic level, these apps take a photo and improve it in one or more of these ways:
Upscaling — increasing the resolution of a small or low-quality image so it looks sharp even at a larger size, without the pixelated, blocky look you’d get from just stretching the original.
Sharpening — cleaning up soft or slightly out-of-focus edges so details like facial features or text look more defined.
Noise reduction — smoothing out the graininess you see in photos taken in low light, common with older phone cameras or night shots.
Color and lighting correction — adjusting brightness, contrast, and color balance automatically so a dull or washed-out photo looks more vibrant.
The reason these tools work as well as they do now comes down to how they’re built. Rather than just applying a generic sharpening filter across the whole image, the AI has been trained on millions of photo pairs — blurry versions and their sharp originals — so it’s learned to recognize what a nose, an eye, or a strand of hair is supposed to look like, and reconstructs that detail rather than guessing blindly. This is why AI-based tools tend to produce far more natural results than the older “increase image size” tools that just stretched pixels and left everything looking soft or blocky.
Best Apps Worth Actually Installing
Remini
Remini is probably the most well-known name in this space at this point, largely because of how well it handles old and blurry photos specifically. Upload a grainy photo from years ago — the kind taken on an early smartphone or scanned from print — and it does a genuinely impressive job reconstructing facial detail, which makes it a favorite for restoring old family pictures.
The free version works but limits how many enhancements you get and adds watermarks or restricts resolution on some features, with a subscription unlocking unlimited use and higher-quality output.
Remove.bg’s sibling apps and general upscalers
Several apps built around the same core AI upscaling technology — Bigjpg, Let’s Enhance, and similar tools — focus specifically on increasing resolution for images you want to print or use at a larger size, like a logo you only have in a small, blurry version and need blown up for a banner or business card.
Google Photos’ Built-In Enhancement
Worth mentioning because it’s already installed on basically every Android phone and most iPhones in Pakistan. Google Photos has automatic enhancement suggestions under the editing tools when you open a photo — tap “Edit,” then look for the suggested enhancement option. It’s not as aggressive as a dedicated AI upscaler, but for quick touch-ups on everyday photos, it’s free, requires no extra download, and doesn’t add watermarks.
Snapseed
Not strictly an “AI enhancer” in the upscaling sense, but worth having installed alongside one, since Snapseed gives you manual control over sharpening, noise reduction, and color correction if you want to fine-tune a photo after running it through an AI upscaler. It’s free, made by Google, and has no ads or watermarks, which is rare for a tool this capable.
Photo enhancer apps built into camera launchers
If you’re on a Samsung, Infinix, or Tecno device, check your phone’s built-in gallery app before downloading anything extra — several manufacturers have started quietly building basic AI enhancement directly into their gallery editing tools, accessible through an “Enhance” or “AI Edit” button when viewing a photo.
How to Actually Use These Apps Well
The process is nearly identical across most apps, but a few habits make a real difference in the final result.
- Start with the best version of the source photo you have. If you’re restoring an old photo, use the original if it exists rather than a screenshot of it or a photo of a printed copy — every extra step of copying degrades quality further and gives the AI less to work with.
- Don’t stack too much enhancement at once. Running a photo through sharpening, noise reduction, and upscaling all at maximum strength in one app, then repeating the process in a second app, tends to produce an over-processed, slightly waxy or artificial look, especially on faces. One good pass is usually enough.
- Check faces closely before saving. AI reconstruction occasionally gets facial features slightly wrong, especially on very low-quality source images, softening or altering features in a way that doesn’t quite match the original. Zoom in before you commit to the enhanced version, particularly if it’s a personal or sentimental photo.
- Keep the original file. Save the enhanced version as a copy rather than overwriting the original. If a later enhancement attempt turns out better, or you find a flaw in the AI-reconstructed version, you’ll want the untouched original to work from again.
- Match the enhancement to the actual use case. A photo you’re posting to Instagram doesn’t need the same treatment as a printed photo for a frame or a scanned document you need to read clearly. Heavier upscaling and sharpening matter more when the final size is larger or the detail needs to be legible.
Where This Is Actually Useful
Beyond just fixing old family photos, AI enhancement genuinely solves a few common, practical problems:
Printing an old photo. If you want to print or frame an old picture that only exists as a small, low-resolution file, upscaling it first prevents it from coming out blurry or pixelated at print size.
Business and product photos. Small business owners selling on Instagram, Daraz, or through WhatsApp catalogs often work with photos taken in imperfect lighting. A quick enhancement pass can make product photos look noticeably more professional without needing an actual camera setup or lighting kit.
CNIC or document images. Occasionally a scanned or photographed document comes out slightly blurry, and sharpening it can make text legible enough to actually read or submit, though for anything requiring official verification, always keep the original alongside any enhanced version, since some institutions specifically want unedited scans.
Social media content. Content creators and bloggers dealing with user-submitted or older archive photos can bring images up to a standard that doesn’t look out of place next to newer, higher-resolution content.
A Word on Being Realistic About the Limits
AI enhancement is genuinely impressive, but it’s not magic. It works by reconstructing plausible detail based on patterns it’s learned, not by recovering information that was never captured in the first place. A severely blurry or extremely low-resolution photo will improve, sometimes dramatically, but it won’t become a technically perfect image out of nowhere. There’s a difference between an app making a photo look better and an app somehow inventing detail that was genuinely lost.
This matters most with faces, since a slightly-off AI reconstruction of a face can end up looking subtly wrong in ways that are hard to put your finger on, especially to people who knew the person well. If a photo is deeply important — a memorial photo, something being professionally printed at a large size — it’s worth trying more than one app and comparing results rather than trusting the first output blindly.
Picking Based on What You Actually Need
If your goal is restoring old, sentimental family photos, Remini’s specific strength in facial reconstruction makes it worth the download despite the subscription push. If you just want quick day-to-day touch-ups on regular photos, Google Photos’ built-in tools or Snapseed cover that without needing anything extra installed. And if you’re specifically trying to blow up a small image for printing or a larger display, a dedicated upscaling tool built for that purpose will outperform a general-purpose enhancer every time.
None of these apps need to be expensive or complicated to get real value out of. Try the free version of one or two, see which handles your specific type of photo best, and go from there rather than assuming the most hyped app is automatically the right fit for what you’re actually trying to fix.
